Squeaky Clean
It is mid-winter here in New England and in an effort to hurry it along, I'm doing some early spring cleaning.
But before I get to that, I want to share with you some wonderful press I got in HomeStyle Magazine, a publication highlighting the Berkshires of Western Massachusetts where I live. Writing maven Robin Catalano interviewed me for an article on my woman-owned business. Here's an excerpt:
Though Pike delights in the meticulous engineering of projects like these, even more, she enjoys the revelatory potential of using the laser to expose what lies beneath the surface of a material, from the clean white “canvas” in laser-engraved areas of dark-colored parchment to engraving on fabric to remove the top layer of dye and expose the undyed material underneath. “I like to experiment with working within the confines of a medium while augmenting what we have,” says. “What happens when we remove those layers? Or when we move the focal distance on the laser? How can I spark something that will help the artist think more expansively and integratively about her medium?”
You can read the full article here: What Lies Beneath
In this post I will share with you something that I'm super excited about—but that may excite you only if you're a laser cutting geek like me: how to make a scuzzy laser cutter bed look sparkling new without nasty chemicals.
Okay, laser cutting geeks, here we go!
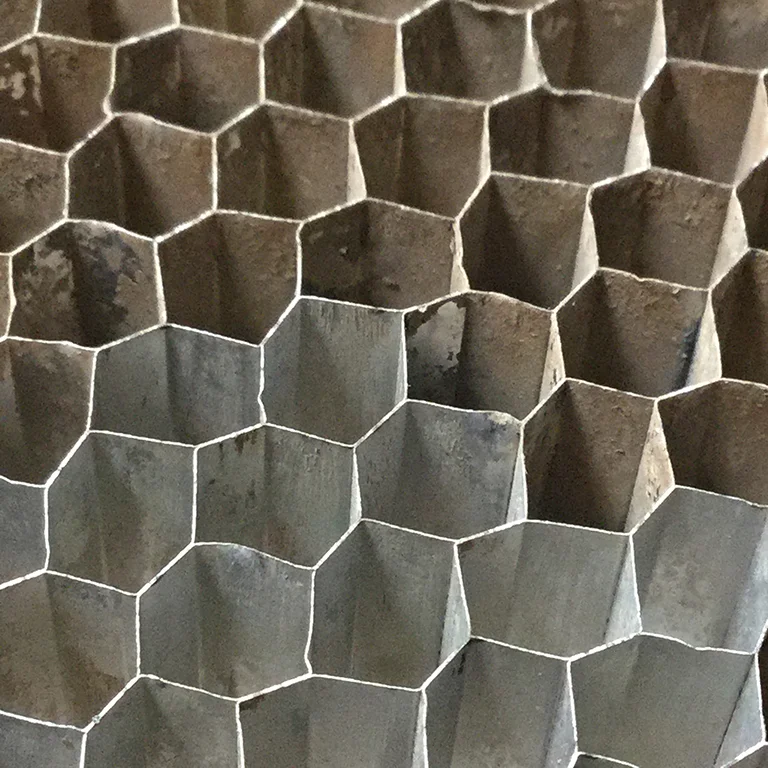
Most laser cutting beds have an inset piece of aluminum honeycomb to help draw heat and vapor down into the fume extractor. They get grody with baked-on residue that eventually transfers to the back of the material you're cutting.
The challenge in cleaning these beds is getting the residue out of all the 1/4" holes.
Step 1: Rinse Off the Excess Residue. If it's summer, a garden hose spray works well. If it's below freezing (like it is here now), you can take it with you into the shower.
If you're lucky enough to have a power washer, then you're golden. But test the pressure in the corner of the bed, as aluminum honeycomb can warp under pressure.
Step 2: Soak or Spray. Believe it or not, soaking the bed in vinegar works very well and will not asphyxiate you. What's the optimal concentration of vinegar to water? I haven't scientifically tested it but the higher the concentration of vinegar the better. I went with 1:1 because I had two gallons of vinegar and needed another two gallons of water to fully submerge the bed.
If you have good ventilation another option is oven cleaner spray.
Now you're ready to rinse off the vinegar solution. You may be content to stop here but look more closely to see if there's still residue in the holes. The next step is why I'm so excited.
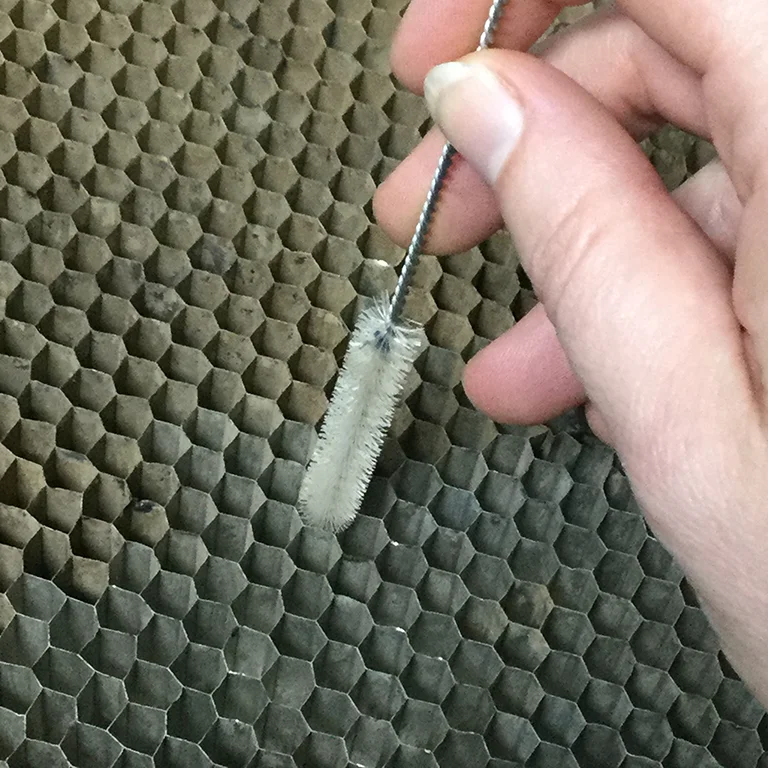
Step 3: Clean the Holes Using a Straw Cleaner Brush! I first tried Q-tip cotton swabs but it was very slow going. It turns out there's a better tool. Get yourself a straw cleaner brush, sit down in front of your TV to start binge watching, and go at it!
Some tips:
Wet the bed before scrubbing. If the bed is dry you’ll create a powdery residue cloud. You don't want to breathe it in.
Where do you get straw cleaner brushes? Straw cleaners are a bit like pipe cleaners but stronger. They'll probably be easy for you to find locally, but if that doesn't work, just go online and search on "straw cleaner brush."
Last resort. If your bed is truly beyond redemption, you can buy a new replacement from HoneyCommCore on eBay, at a fraction of the price of laser cutter companies.


