One Shot To Get It Right!
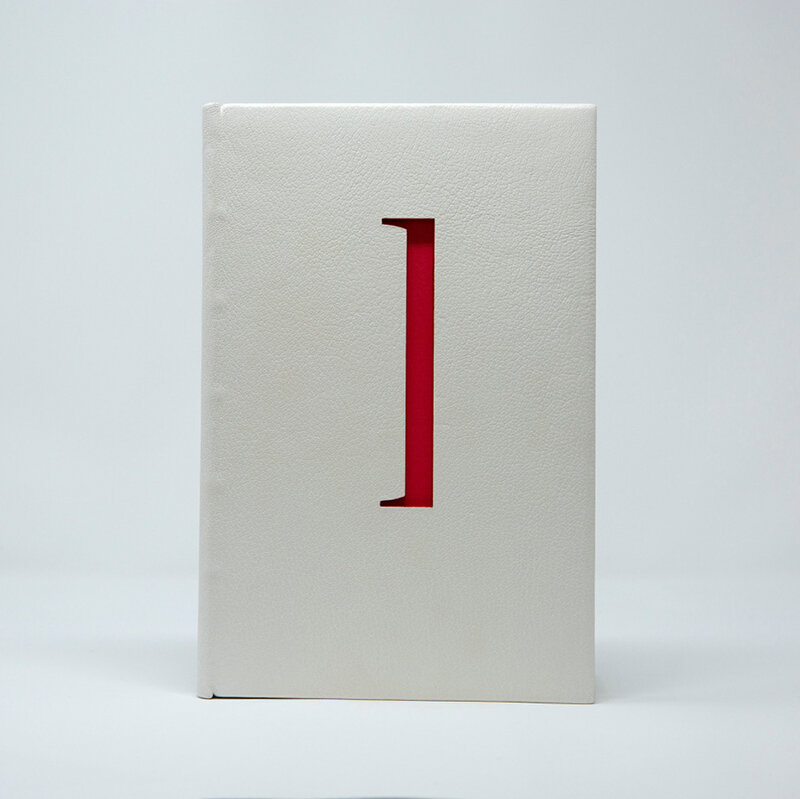
When Robin Brandes contacted me about laser cutting the covers of her latest artist book, Inside the Book, I took a deep breath.
It's one thing to cut the covers of a book before it’s assembled. It's a completely other venture to laser cut a book that’s already bound.
Thankfully, I love working on unique projects because they come with fun problems to solve.
How to cut into white leather without discoloring the surface? How to register an object that lies thicker on one side? What precautions need to be put into place when there’s only one shot to get it right?
In this post I share with you how I addressed these issues on Robin's beautiful design binding.
Step 1: Testing
Robin sent me a leather wrapped board, constructed exactly like the final cover, to test. Binder's board is very dense and when leather is glued on, it gets even denser. The trick is to find a setting that will cut through the material without overdoing it. Settings that are too high can damage the material or create excessive vapor residue.
I can't overstate it enough that when figuring out the optimal setting for a job, the testing material needs to be exactly the same as the final piece. Any variation, no matter how slight, will change the results. Lasers are very sensitive.
Step 2: Protect the Leather
When working with light colored leather, the most effective way to protect the surface from vapor residue re-adhering to the surface, is to apply a protective mask. Robin pasted a layer of Japanese paper onto the surface of both covers. The water-soluble paste fills the grain of the leather, adding extra protection that’s difficult to achieve with the low tack mask/tape used in laser cutting.
You can't see it because both the paper and leather are white but it's there! (right)
Step 3: Jig
I created a cardboard jig to both insure perfect registration and elevate it from the bed of the laser cutter to protect the inside of the book.
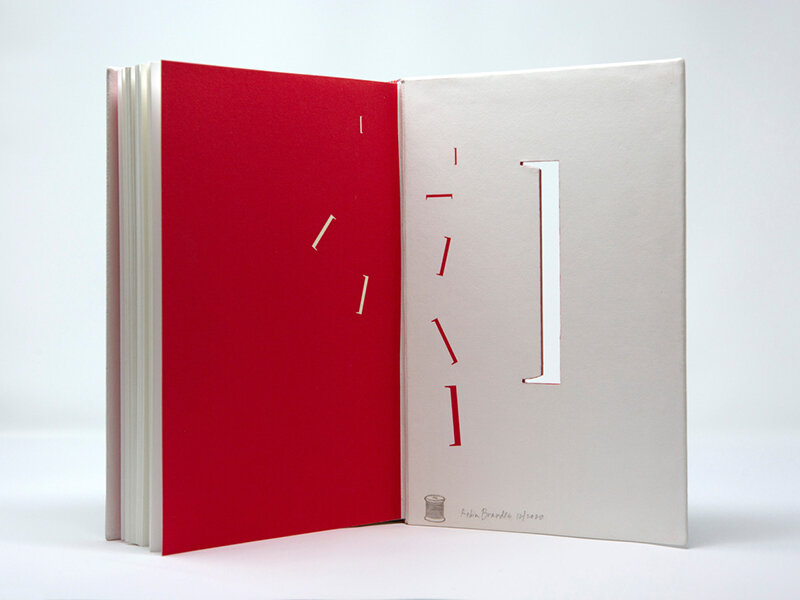
Holes in the jig allowed the heat of the laser to dissipate during cutting. and provided a space for the brackets to drop out when cut.
Step 4: Cutting
Check the registration once, twice, and even a third time; hold your breath; say a prayer to the laser gods (this is a holdover from my days as a lithographer ... we can be very superstitious); and cut (right).
With one-of-a-kind jobs, or those requiring precise registration, the time and expertise required is often best used during the set up and preparation, rather than the cutting.
In Robin's words:
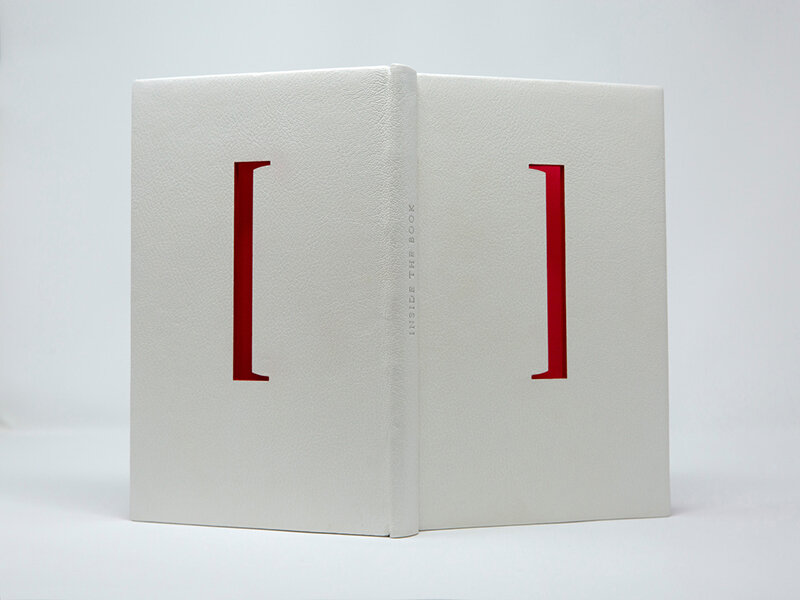
While determining a concept for binding Inside the Book, I was thrilled to discover brackets used to enclose the page numbers in the text like this: [ 12 ] As a graphic designer, I like to deconstruct content to get to the core meaning for presentation. It occurred to me that each bracket looked like an edge of an open book! I wanted the viewer to see through the edges of the book—to see inside the book . Therein lies the design binding for Inside the Book.


Inside the Book, David Esslemont, Solementes Press, 2002,
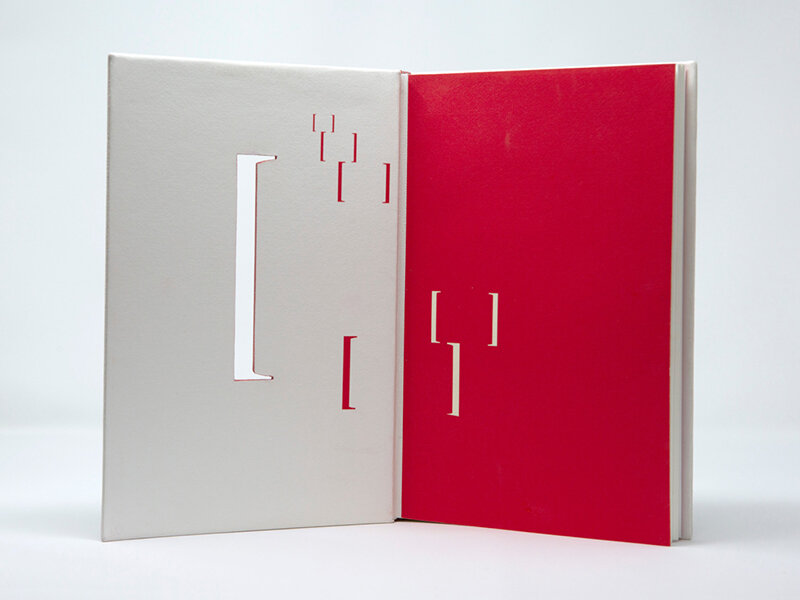
263 x 172 x 30 mm. Full leather binding with laced-on boards. Covered in Harmatan white Katsina goatskin. Edge-to-edge paper doublures. White Katsina leather hinges. Archival pigment printed doublures and fly leaves on Awagami Bamboo paper. Laser cut [ ] by Sarah Pike. Palladium foil titling by Samuel Feinstein.
Robin Brandes’ devotion to fine binding evolved from her deep knowledge of graphic design. She was an award-winning graphic designer dedicated to creating inspiring visual communications for over 30 years. She studied figure drawing at the 23rd Street Studio in San Francisco and the San Francisco Art Institute Open Drawing Studio, painting and mixed media at the San Francisco Art Institutes’ (SFAI) Public Education Program and the Idyllwild Summer Arts Program. She completed the Bookbinding Core Certificate Program in 2015 at The San Francisco Center for the Book. Currently, Robin is studying with Coleen Curry, Design Binder. Robin is a member of the Hand Bookbinders of California, the Guild of Book Workers, and the Colophon Club.


